Job sign-off and the "Accepted, not invoiced" list
When a customer signs off a job, PiCortex marks the job as Accepted. Finance can then pick up every signed-off job that hasn't been invoiced yet from one list, instead of chasing the field team for paperwork.
Three ways a job is signed off
1. Sign the generated document on the web. Open the job, choose Perform actions → Generate document, pick the document (for example your site acceptance template), turn on Sign it now, and have the customer sign in the box. The signed PDF is saved to the job's Files and the job is marked as accepted.
2. Sign on the phone. In the PiCortex app, open the job and tap the pen button at the top. Choose the document if you have more than one, have the customer sign (or type their name), and tap Sign off. It works the same way as signing on the web.
3. Upload a signed scan. If the customer signed a paper copy, take a photo or scan it, and upload it on the job's Files tab. Then click the tick-document button on that file, Mark as signed acceptance. A signed scan has to be a PDF or a photo. A document generated in PiCortex is accepted by signing it as you generate it, not by marking it. Once a job is accepted, its files no longer offer the button; clear the acceptance first if you need to replace it.
Two signatures. Some documents, such as an installation certificate, are signed by the customer and also approved by the installer. Type the customer's name and designation under their signature, then turn on The installer signs too (on the phone, tap it) and have the installer sign. Their name defaults to yours. Only the customer's signature marks the job accepted: the installer's prints on the document and changes nothing else.
A job is only marked as accepted when the signature actually appears on the document, so the template needs a signature placeholder, {{Signature:W:180}}. See Document templates. If the job isn't marked as accepted after signing, PiCortex says so: either the template has no place for a signature, or you aren't allowed to accept this job (you need to be able to edit jobs, or be on the job).
Who signed, and when
An accepted job shows an Accepted chip at the top of the job. Hover over it to see when it was accepted, which team member recorded it, and how (signed on the document, or a signed scan).
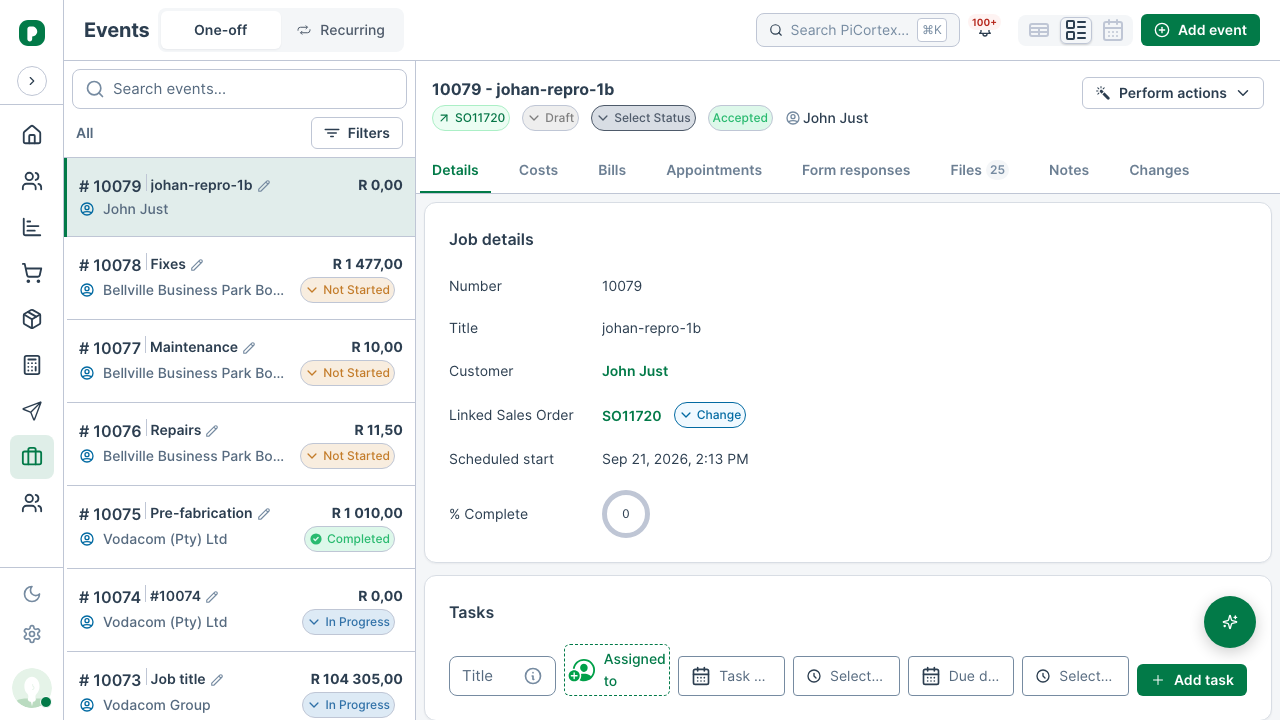
If a job was marked by mistake, choose Perform actions → Clear acceptance. The signed document stays in Files. Deleting the file doesn't clear the acceptance, so clearing it is always a deliberate step.
Only someone who can edit jobs, or who is on the job, can mark or clear an acceptance. A completed job can still be signed off.
The "Accepted, not invoiced" list
At the top of the Jobs list, open Saved filters and choose Accepted, not invoiced. It lists every job the customer has signed off that has no invoice yet. A voided invoice doesn't count, so a job whose only invoice was voided comes back onto the list.
The Jobs table also has Acceptance and Invoicing columns, so you can see both at a glance.
Saving your own filters
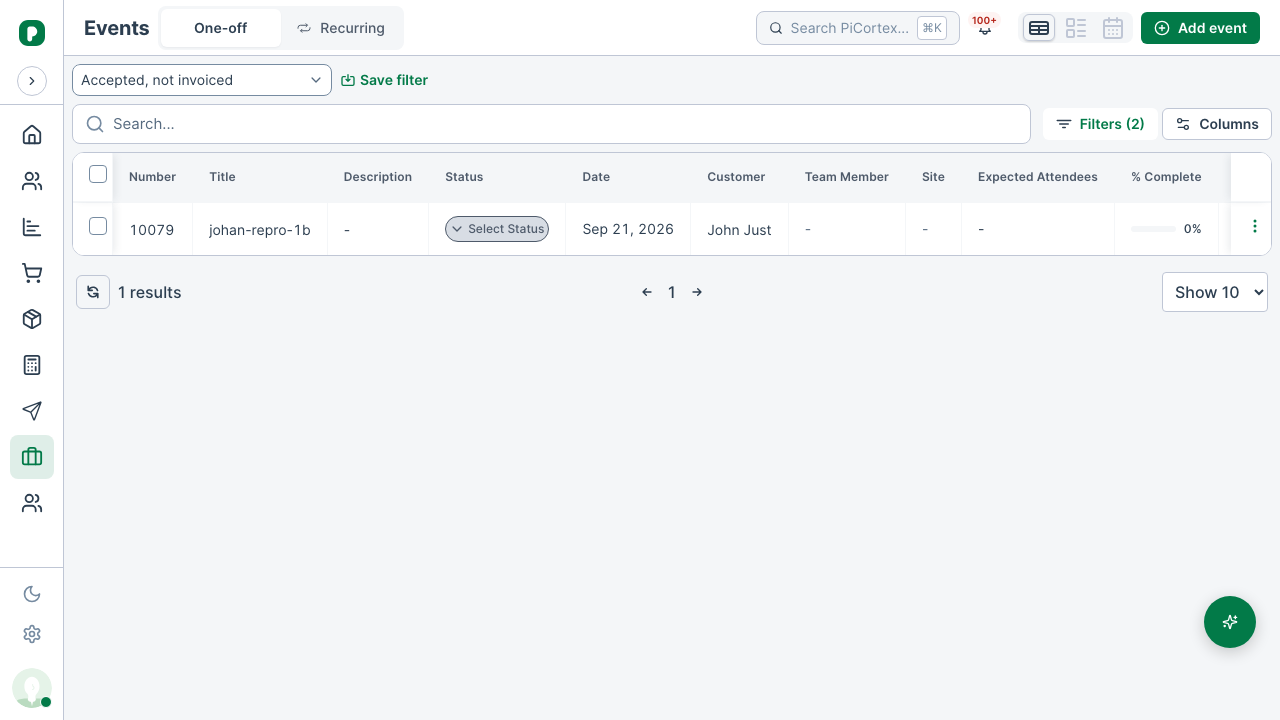
- Build the filter you want with Filters above the Jobs list.
- Click Save filter, give it a name, and click Save.
- Next time, pick it from Saved filters.
Your saved filters are yours alone. An administrator can tick Share with everyone to give a filter to the whole team. To delete a filter, choose it and click the bin beside it. Accepted, not invoiced comes with PiCortex and can't be deleted.